Being in a family that travels as much as we do, I have many miles under my airplane seat belt. As any seasoned traveler knows, it’s dry as hell up there, and flying can really leave your face looking dehydrated, puffy, and irritated.

In low humidity, all the moisture is pulled from your skin, making your complexion look dry and feel even drier. If you have combination skin like me, flying can actually make your skin appear even more oily because your skin is trying to make up for the moisture loss by ramping up the oil production. And I can tell you, it is no fun being dehydrated and oily all at once, talk about a hot mess! This only leads to breakouts and clogged pores.
Keeping your skin clear and healthy is hard enough at home, doing it 35,000 feet in the air can feel impossible. To help with all the craziness your skin experiences while flying, I wanted to share with you some of my favorite TSA-approved products that help my skin before, during, and after traveling!
First and foremost, I know it sounds like a DUH but a dermatologist once told me that for each hour you fly, to have an additional 8 oz of water above what you normally would. So, if you are planning on going across country, plan of chugging some serious water. Seriously, your body will thank you! And be sure to get an aisle seat (wink).
Once you get on the plane and get settled, you can start your own little mile high mini spa! You can decide how crazy you want to look … If you want to maintain a relatively normal appearance, I would say go with the hydrating serum, moisturizer and spritz some facial spray on your face often. If you don’t really care what you look like, pop on some under eye pads and a lip mask too. And if you are never going to see these people again and really don’t care, plaster on that full sheet mask and relax away!
STEP 1: Before you board, be sure to cleanse your face.
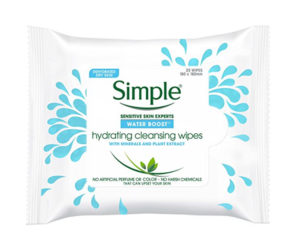
Preferably use a foaming cleanser and/or one that contains an exfoliate. I know sometimes airports are crazy, so an easy alternative is cleansing wipes. I love these Simple Water Boost Hydrating Cleansing Wipes because they are infused with minerals and plant extract and they hydrate as the cleanse.
STEP 2: Apply eye cream.
The skin under our eyes is so delicate. One trick I learned from a makeup artist years ago was to use my ring finger and lightly pat the cream to the undereye area. Don’t ever pull or tug and irritate the skin.
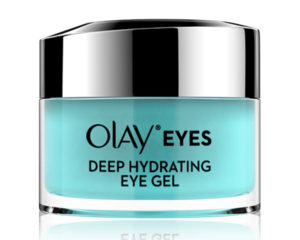
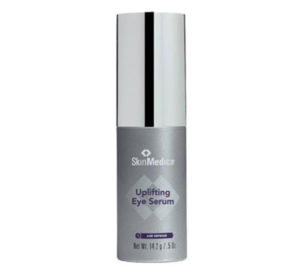
There are two creams I love. One is Olay Eyes Deep Hydrating Eye Gel and the other is SkinMedica Uplifting Eye Serum. Both are on the lighter side, which I really like because the heavy creams make my under-eye area irritated and bumpy.
STEP 3: Apply a hydrating serum.
Preferably one that contains hyaluronic acid. Usually you only need a pea sized amount, so a little will go a long way. Hyaluronic acid is known for alleviating dry skin and reducing the appearance of fine lines and wrinkles. It holds up to 1000x its weight in water!
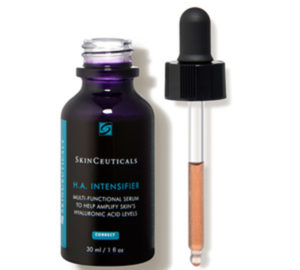
I’m obsessed with Skinceuticals Hyaluronic Acid Intensifier. The staff at Focal Point Spa in Arizona turned me on to it and they call it “purple crack” because, literally, you will become addicted to this stuff! It’s purple in color and contains a high concentration of hyaluronic acid, licorice root and purple rice, which helps to firm, smooth and plump the skin.
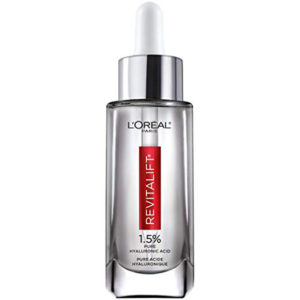
If you’re looking for a more budget-friendly option, you can try the Hyaluronic Acid Serum by L’Oreal Paris. It absorbs quickly and doesn’t leave any tacky feel or leftover residue.
STEP 4: During the flight, spritz your favorite hydrating mist and apply lip balm as often as needed.
You want to be sure to keep your skin as hydrated as possible.
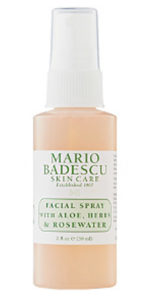
The Mario Badescu Facial Spray is my go-to anytime my skin is looking or feeling dry. You can even lightly mist it on top of makeup and it doesn’t affect it.
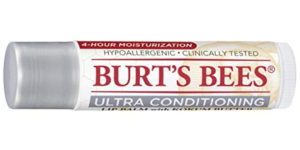
For lip balms I’ve always been a Burt’s Bees girl. This Ultra Conditioning Lip Balm conditions and moisturizes your lips and is made with all-natural ingredients.
STEP 5: Put on some under eye pads and a lip mask.
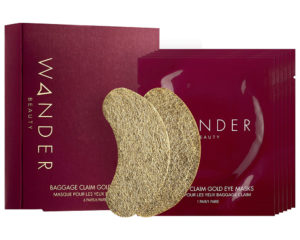
For undereye masks, these are my jam! Early morning photoshoots, getting prepped before the red carpet and now just anytime I want to fake some sleep and get rid of fine lines, I turn to these. They are perfect for alleviating the puffiness from travelling too.
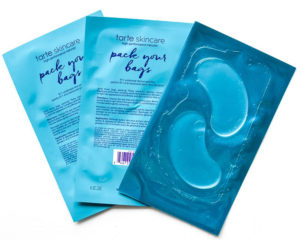
I really like the Wander Beauty Baggage Claim Gold Eye Masks or the Tarte Pack Your Bags 911 Undereye Rescue Eye Patches. With the Wander, these are perfect to wear and toss but with the Tarte ones, sometimes I can hold onto these gel ones after use, add some of my favorite eye serum (above) to a small Ziplock bag and then pop them in the fridge or the freezer if you are short on time. They are so refreshing when I’m at home and need to depuff and refresh my eye area.
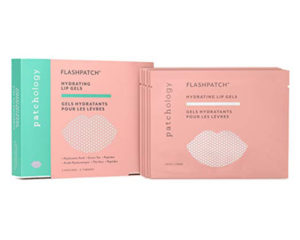
Lip masks do essentially the same thing and what I like about them is that they also focus on the delicate skin around the lips where we can easily get fine lines but this area is often overlooked. These Patchology FlashPatch Hydrating Lip Gels are a great size for travelling and only take 5 minutes to work.
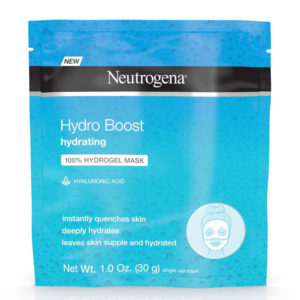
STEP 6: Apply a hydro gel mask for 10-15 minutes.
If you are looking for a really inexpensive one, try the Neutrogena Hydro Gel Mask. I really like the feel of this one.
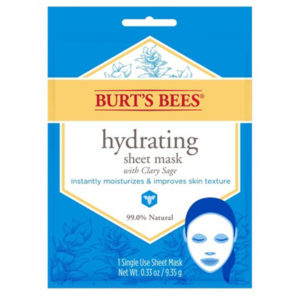
I like the Burt’s Bees Hydrating Face Mask because it’s made with 99% natural ingredients and your skin instantly feels moisturized.
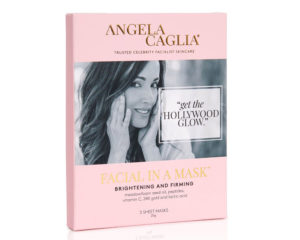
Another one I really like is the Angela Caglia Facial In A Mask. It seriously leaves me absolutely glowing and looks like I just had a professional facial done because its packed full of peptides, Vitamin C, hyaluronic acid and 24K gold flakes (so fancy!!). Her products are top of the line and seriously worth the splurge!
STEP 7: Get some beauty rest with a sleeping mask.
If you are going to settle in for a little nap, don’t forget your favorite sleeping mask. I love this me Glow Beauty Boosting Eye Mask because not only is it super soft but it is infused with copper. And you know what that means…it also helps reduce lines and wrinkles!
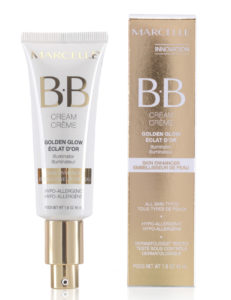
STEP 8: Right before you land, apply a BB Cream or a tinted moisturizer.
Your healthy skin will be radiant and ready do whatever adventures you have planned. I love the Marcelle BB Cream because it hydrates while it illuminates and evens out your skin tone.
STEP 9: Always apply an SPF.
You didn’t just spend all that time pampering your skin to get sun damage! Plus, hello! We all want to prevent those wrinkles! My favorite is Colorscience Sunforgettable Mineral SPF 30 Sunscreen Brush. It comes in this convenient tube with the brush attached and it give a nice matte finish to your skin. It’s the perfect addition to your purse staples!

Those airplane cocktails may be fun, but make sure you’re still drinking enough water! And remember … hydrate, mask, repeat!